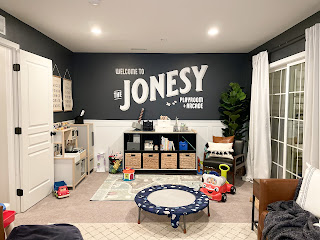
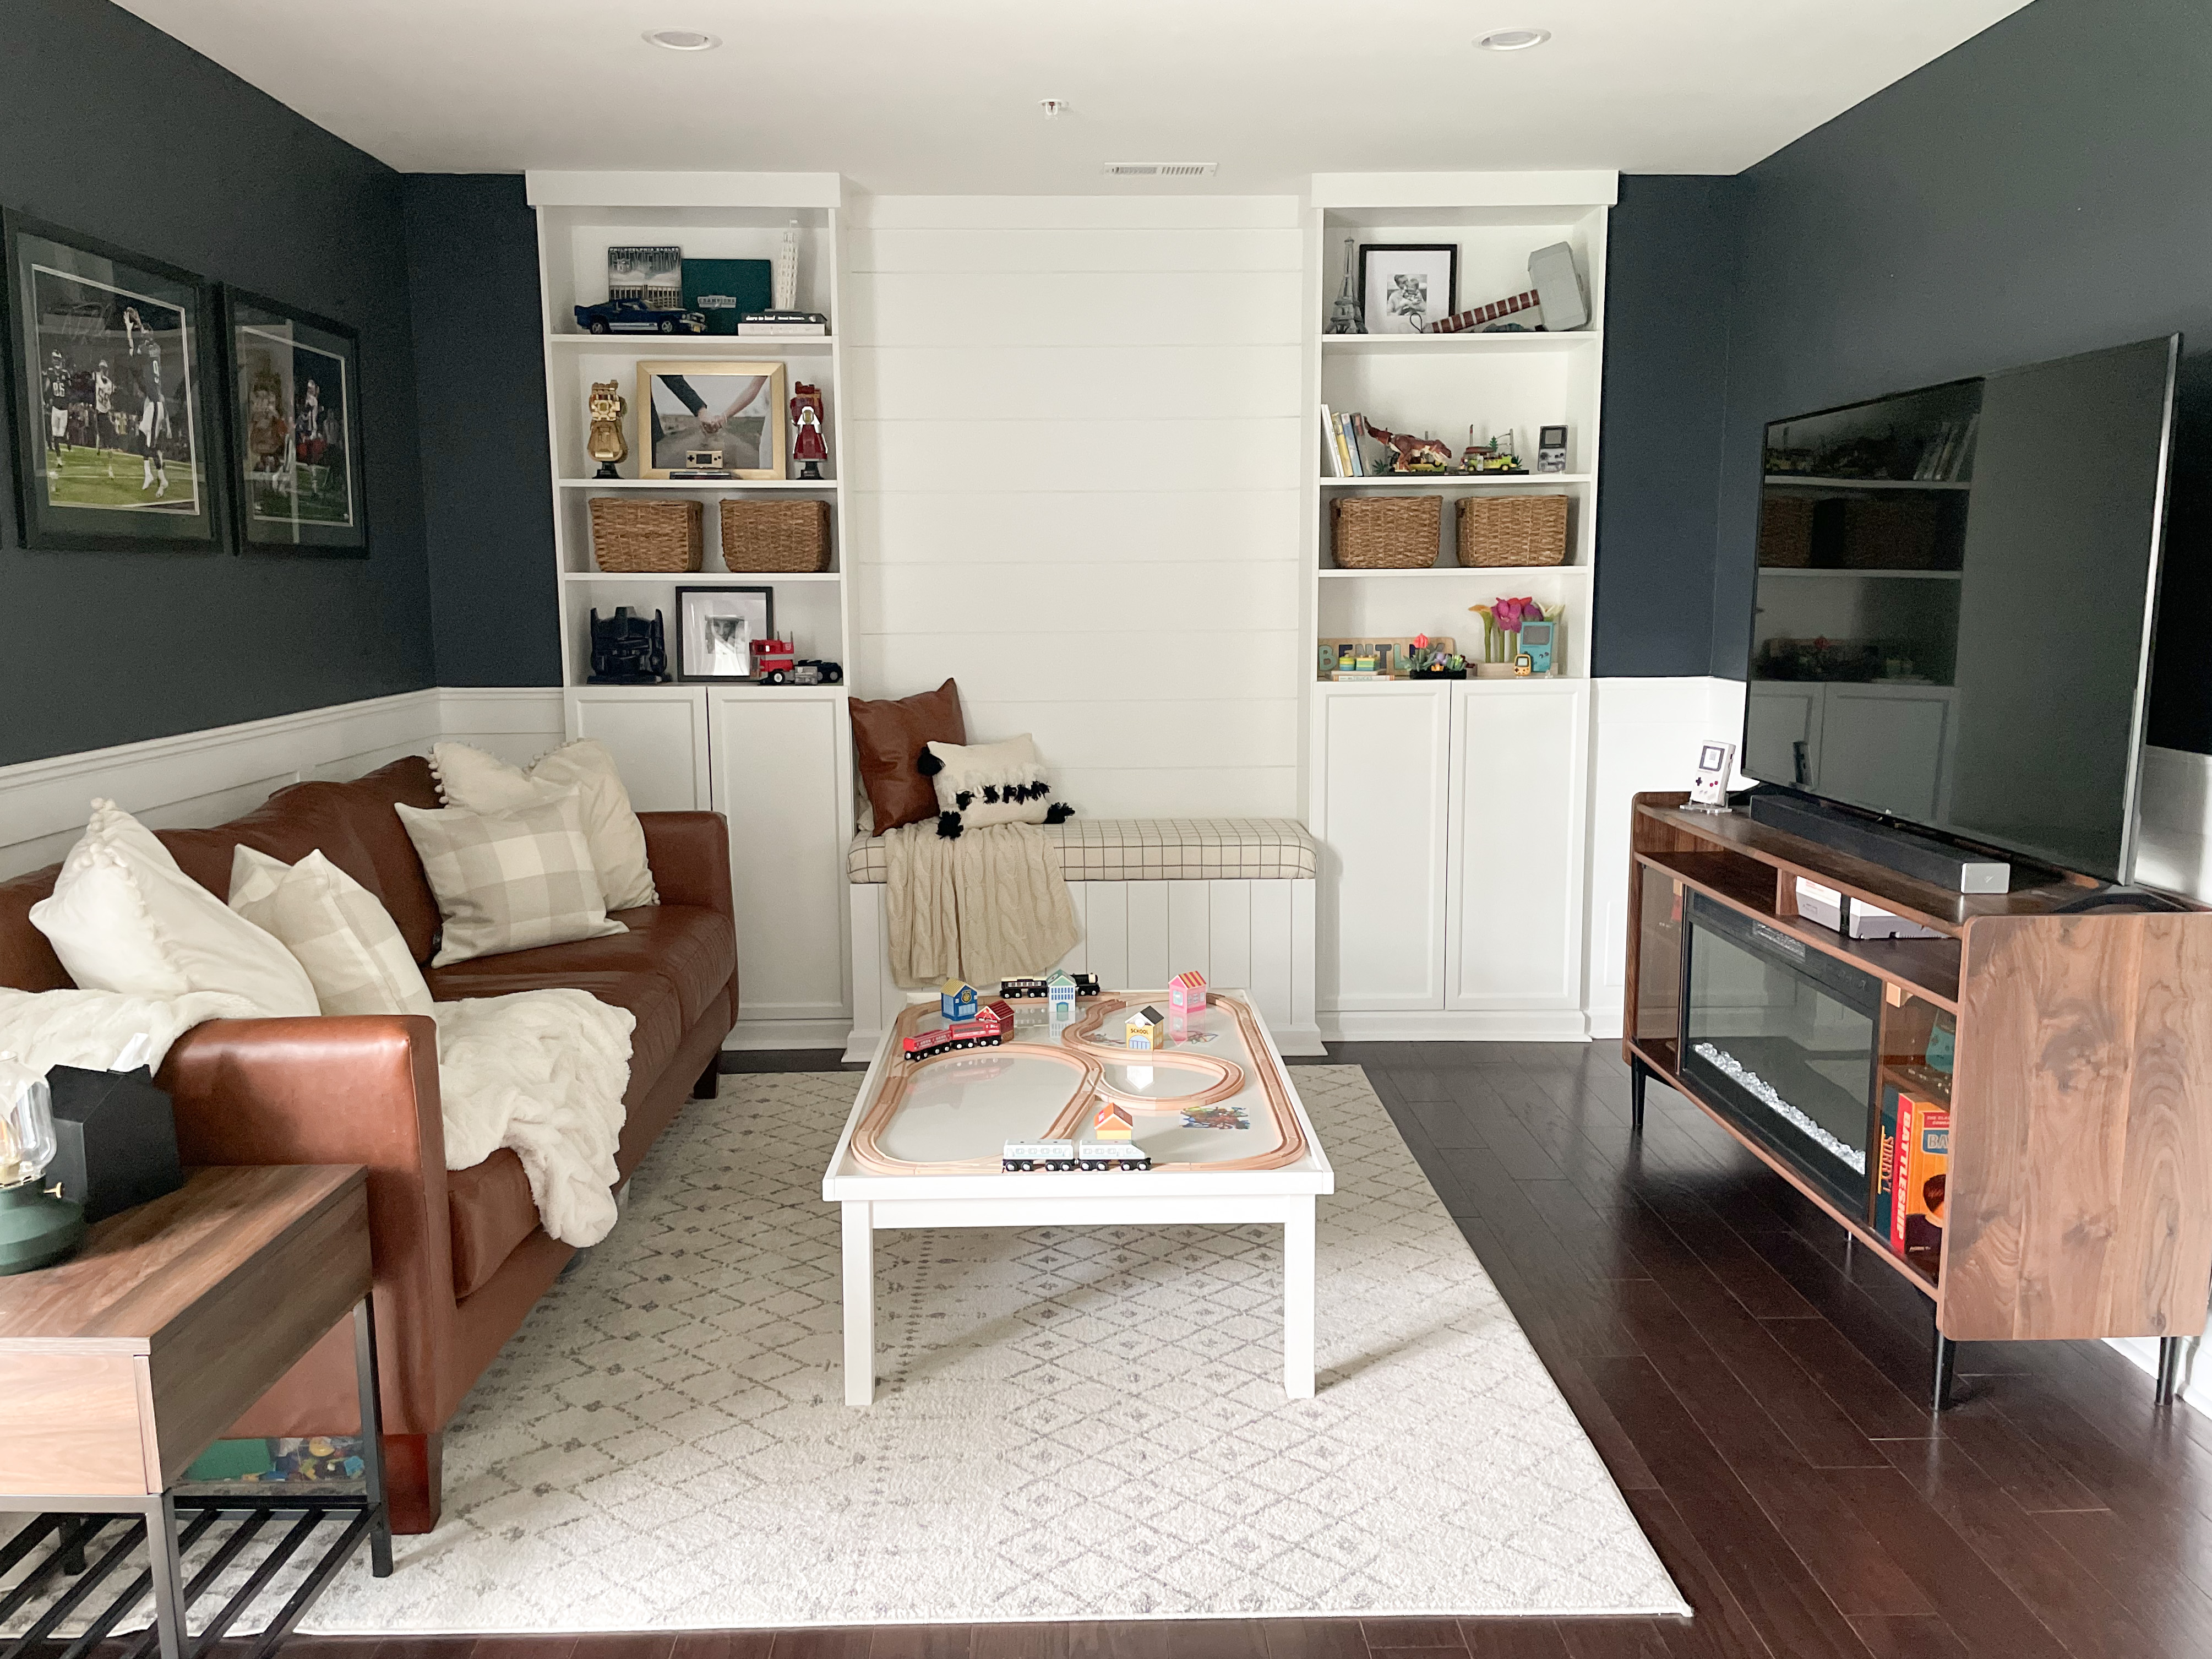
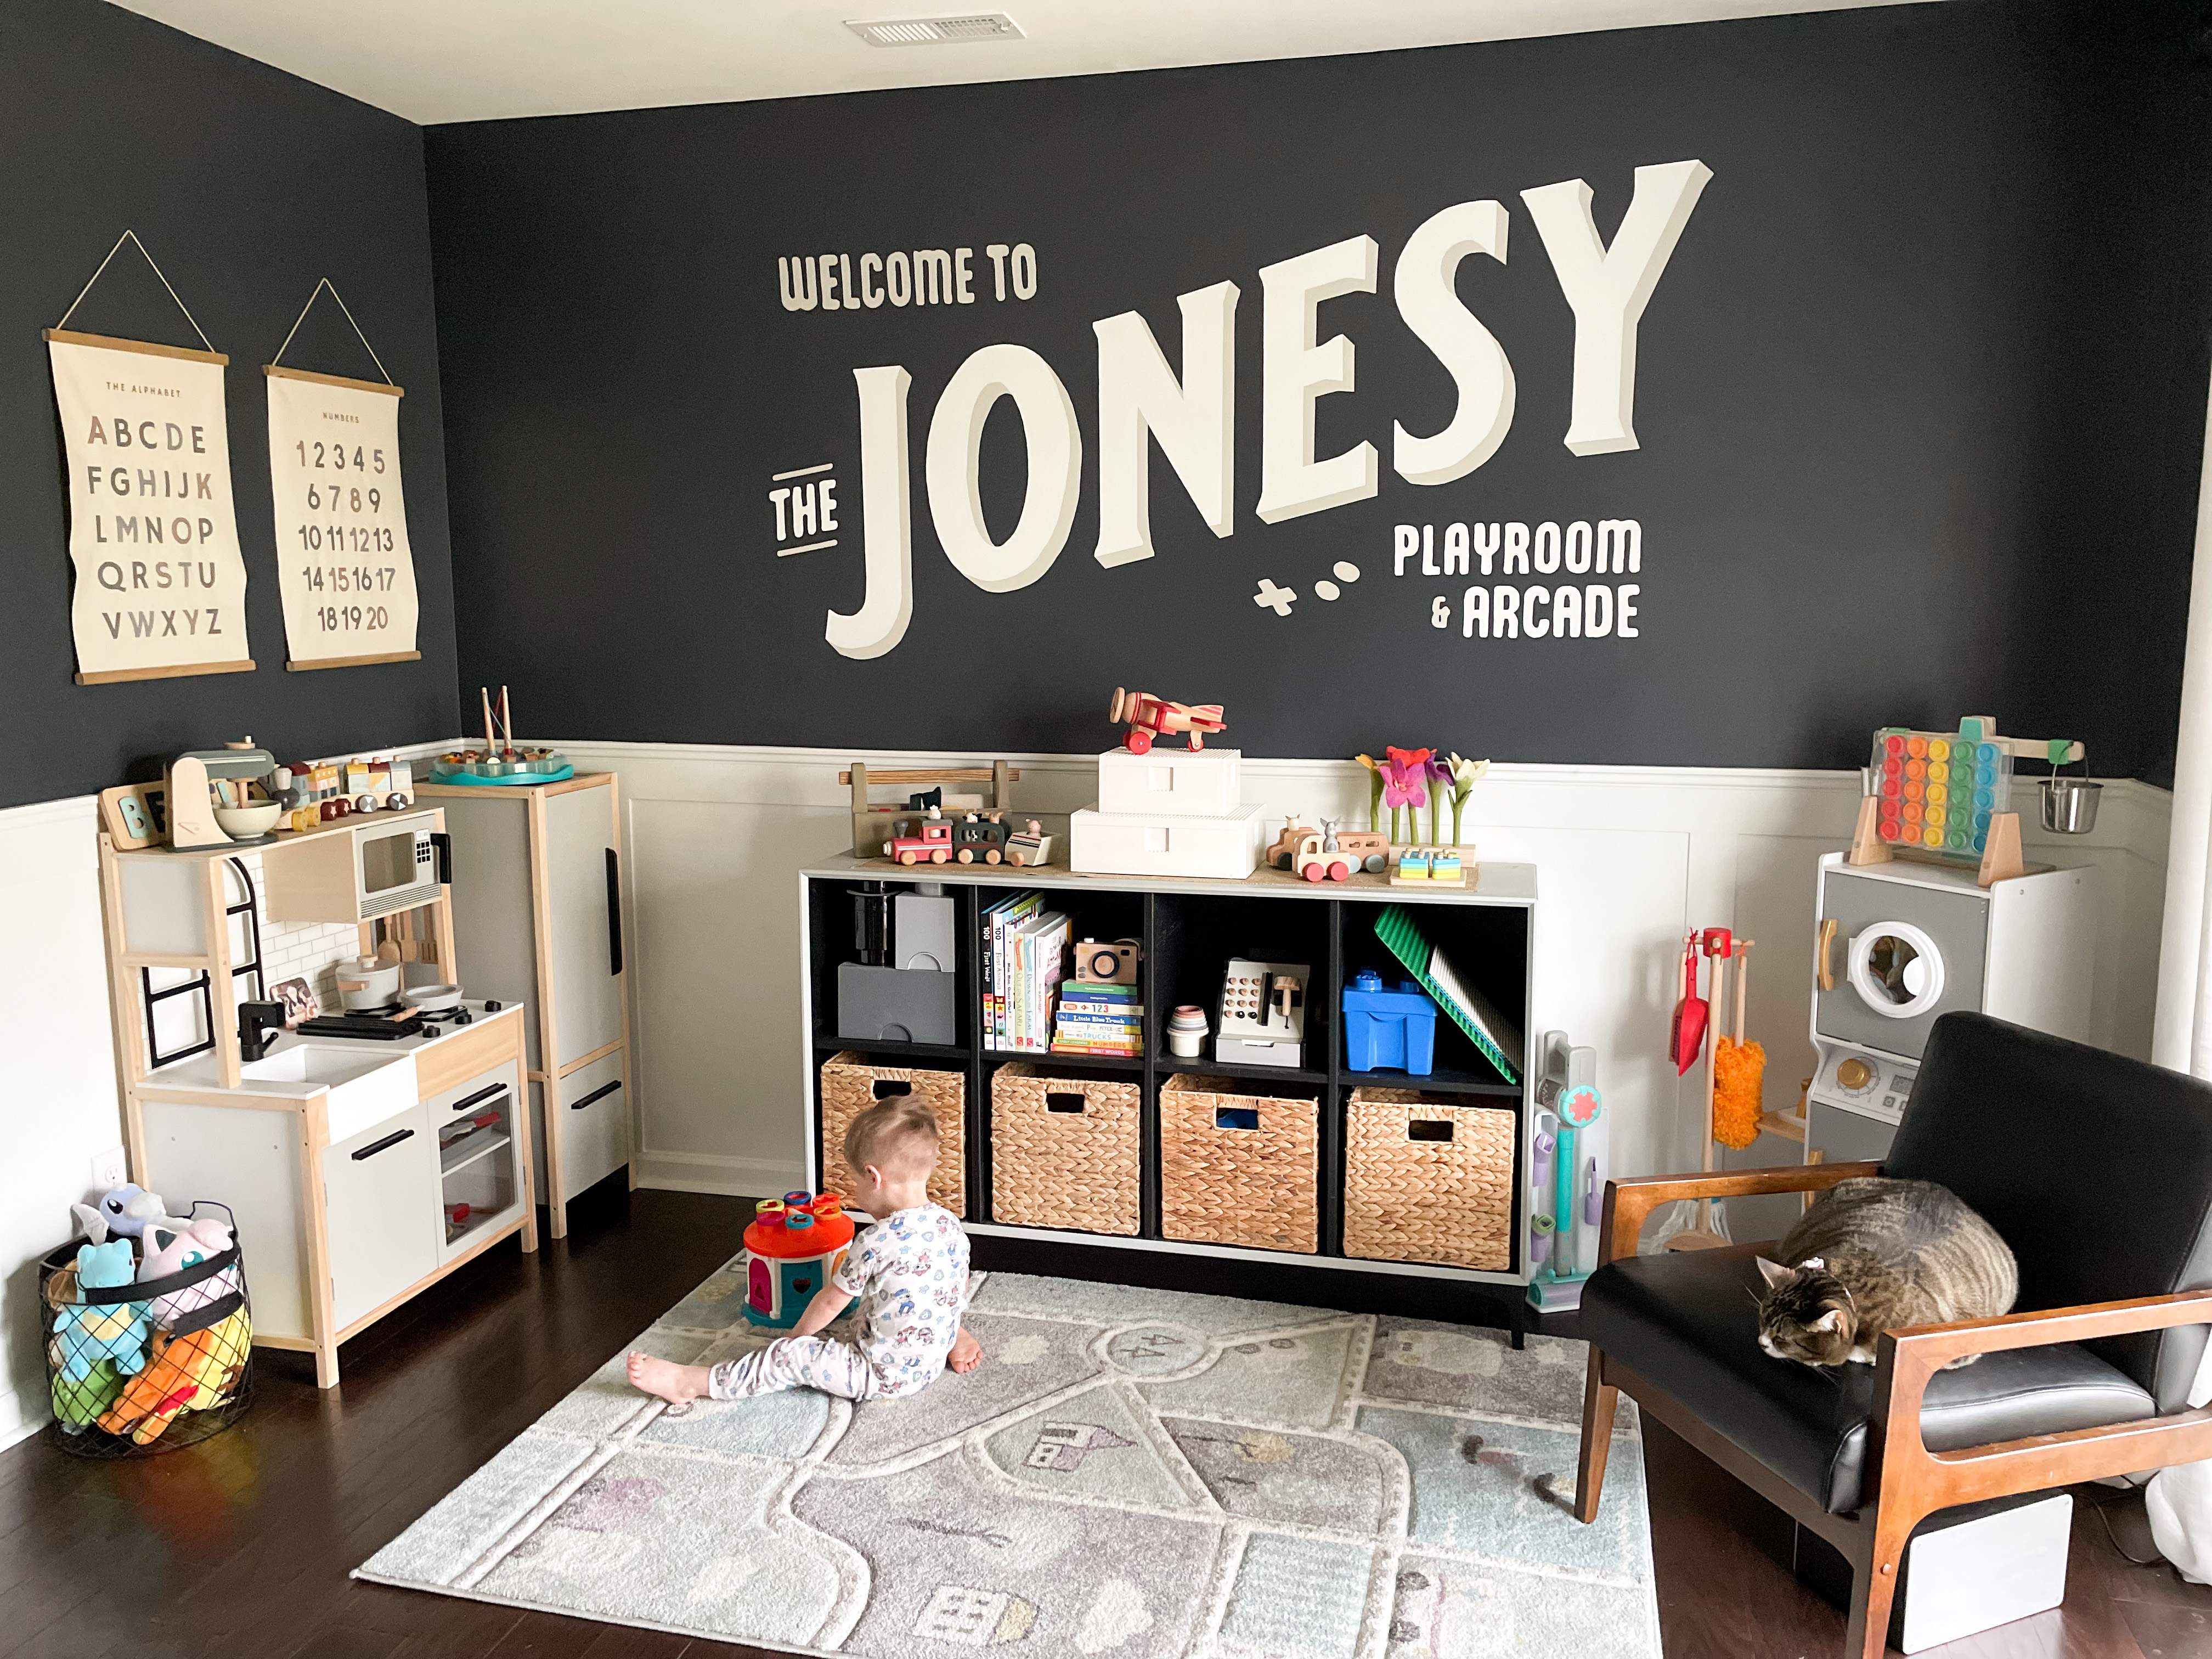
It's finally almost complete! It's taken us over a year to get our playroom to look and function how we want it to for our family. There have been countless hours of DIY projects, and yes, blood (like actual blood), sweat, and tears. We originally started our DIY projects in the Playroom with our Custom Hand-Painted Sign. Before that sign, can you believe the space looked like this?! It's crazy how much a space can change in a matter of four years, but here we are, with our newest version of The Jonesy.
Here's a sneak peek at my custom bench! I still have some styling to do and would love some new pillows, picture frames, and decor for this space, but with baby #2 on the way, I've been so focused on getting things for him and I just wanted this space to be finished and usable--not necessarily perfect yet!
So, I'm going to take you back now to about eight months ago. We had just gotten our flooring delivery around Thanksgiving, and this was our flooring for the Jonesy Playroom, our staircase landings, and our entire third floor. I knew that hardwood flooring was going to be a huge progress, but gosh, I love my house so much more! The builder-grade carpet was already falling apart after a few short years, and I knew that our home needed a major facelift for us to love it while it's home.
If you need a reminder of what this space looked like with carpet, here are both angles of the space...
The carpet wasn't terrible. I mean, the space was still functional, but we hated the color. The carpet ended up being more purple than gray and like I said before, the quality of builder-grade carpet is on the lowest scale--even with the "upgraded" carpet we selected when we built our home.
Now, onto the fun part! Ripping up the carpet!! I'm not going to lie, this part was disgusting. You don't realize how much dust and dirt will settle into your carpet--no matter how many times you vacuum, it will never be enough.
Along the edge of the room, where the carpet tack strips were shot into the concrete, we were left with some unavoidable damage. I was able to patch that quickly with a concrete patch, but unfortunately, along the outer wall that's shown in the picture below, the concrete wasn't poured correctly.
Since the contractors were just covering it up with carpet, they didn't care that it wasn't level...so that means, I had to level it in order to install hardwood flooring. I used a self-leveling concrete and poured that all along the outer wall, smoothed it out, and let it work its magic. Once the concrete was dry and perfectly level, I was ready to move on!
My favorite little memory before I sealed up the underlayment was tracing our handprints on the concrete. Chris and I have always put something behind every DIY project--including writing scriptures during construction. This was so special because we were able to include Bentley--after all, it is his playroom, well, and baby bro's, too!
I started laying down the first few rows using flooring glue and then would tape the boards together. The remainder of the floor is a floating floor, but I wanted to make sure that the flooring wouldn't shift too much since I wasn't able to nail it into the subfloor like I was able to do everywhere else in the house. A floating floor is extremely easy to install, but keep in mind, with real hardwood, you might need to shift a few random boards about 6 months later due to settling and the wood expanding/contracting due to temperature changes. We have very few gaps in the flooring 8 months later, and honestly, no one notices them except for me because I know what to look for. We will eventually be getting a tool to help adjust those boards--basically like a fancy flooring suction cup, but I'm waiting for a full year to go through the season changes and allow the flooring to settle into its permanent placement before making those adjustments.
Once the hardwood flooring was installed, here is what it looked like! So much better! It started to feel like an actual space vs a glorified storage unit that it felt like before. Once we got through the holidays, we gave ourselves a few weeks off, and then it was time to tackle the built-ins. We desperately need storage in our home (townhome problems), and built-ins in the playroom allowed for us to create toy storage, entertainment storage, and book storage. It also gave Chris a place to display some of his favorite LEGO sets that have now become decor in my home...but only in the playroom. Haha!
Here's how the shelves looked for about a month. I found out I was pregnant right after we put them up, and then I wasn't feeling up for any DIY projects for a little while. But, once I had a burst of energy, you bet I started working the custom bench and actually making these shelves look built-in. These are the same bookshelves we used upstairs to make our custom built-ins as well, so we decided to keep things budget-friendly and use them again!
The bump outs that the built-ins are in between have water line access, so the dimensions are so wacky, so no matter what, the bench would have to be custom-made. I had never built a bench before, but I had never installed hardwood floors before, and I did that, so how hard could a bench be?! haha!
I started by building the frame. I used a Kreg pocket hole jig to make pocket holes and allow the base boxes to fit together really tight. I added four sets of supports to make sure that it would be really sturdy. The supports are spaced a little weirdly in the center, but that's only because we have an outlet that we were working around as well. I also made the decision to have the seat brace of the bench be above the outlet. It's always a 50-50 shot of whether people prefer it to be higher or lower. Even though I'm petite, I prefer it to be a little higher than a normal bench rather than way lower.
Before securing the side base frames to the wall, we attached shiplap boards to them so that the shiplap wraps all the way to the side and to where you will be able to see. Next, we nailed the shiplap to the front face. We repurposed the wide shiplap boards that were originally blue on the wall--I just trimmed an inch off the sides (length-wise) so that they were slightly thinner but still dramatically larger than the bench shiplap.
We added the floor trim and quarter round all along the bottom and then square trim on the top due to the distance of the shelf to the wall--we didn't have enough space for crown molding unfortunately. Once the nail holes were patched, it was time to paint! We used Sherwin-Williams Pure White in the Semi-Gloss finish, which is an exact match to IKEA Billy Bookcases in case you needed to know!
The only thing that was left to do was make the bench seat. We had originally planned to have an exposed wood board as the seat with a cushion on top, but we ultimately decided to use the wood with 3-inch foam, batting, and duck cloth to create a really comfy, durable all-in-one cushion. Making it myself was also way cheaper than buying a custom-made cushion anywhere online.
I found a really great selection of duck cloth (think durable canvas-like material) at Hobby Lobby in case you have a bench seat project!
All major projects in the Jonesy playroom are finished, and we just have a little decorating left to do...next year! First up, the entertainment side with the built-ins and custom bench. We got rid of the love seat with this new layout, and plan to purchase a new queen sofa bed next year since our boys will be in the bedrooms leaving us with no guest bedroom. I also can't wait to get rid of the sofa and side table and get the new couch, because it will be on the lighter side (with durable, stain-resistant fabric) and will help balance the room out a little more. All of the shades of brown with our new hardwood flooring stresses me out. haha!
Up next, is the playroom side of the room. There weren't a ton of huge changes on this side other than the new flooring and a few new toys, but gosh, I love it and so does Bentley. All day long he's asking to "play down!", so down we go to the playroom for hours of play, and it makes me so thankful that we have a space that we can call his (and eventually baby bro's) playroom. I've joked on Instagram about not having a sad beige playroom, and I love the pops of color throughout the room!
What a relief to finally get this space to where it is today. Now, only a few more projects and tons of organizing to do before baby boy is here in two months...ah!
What's your favorite part of the playroom?
P.S. Be sure to follow along on Instagram for DIY behind-the-scenes!
Subscribe to:
Post Comments (Atom)


No comments