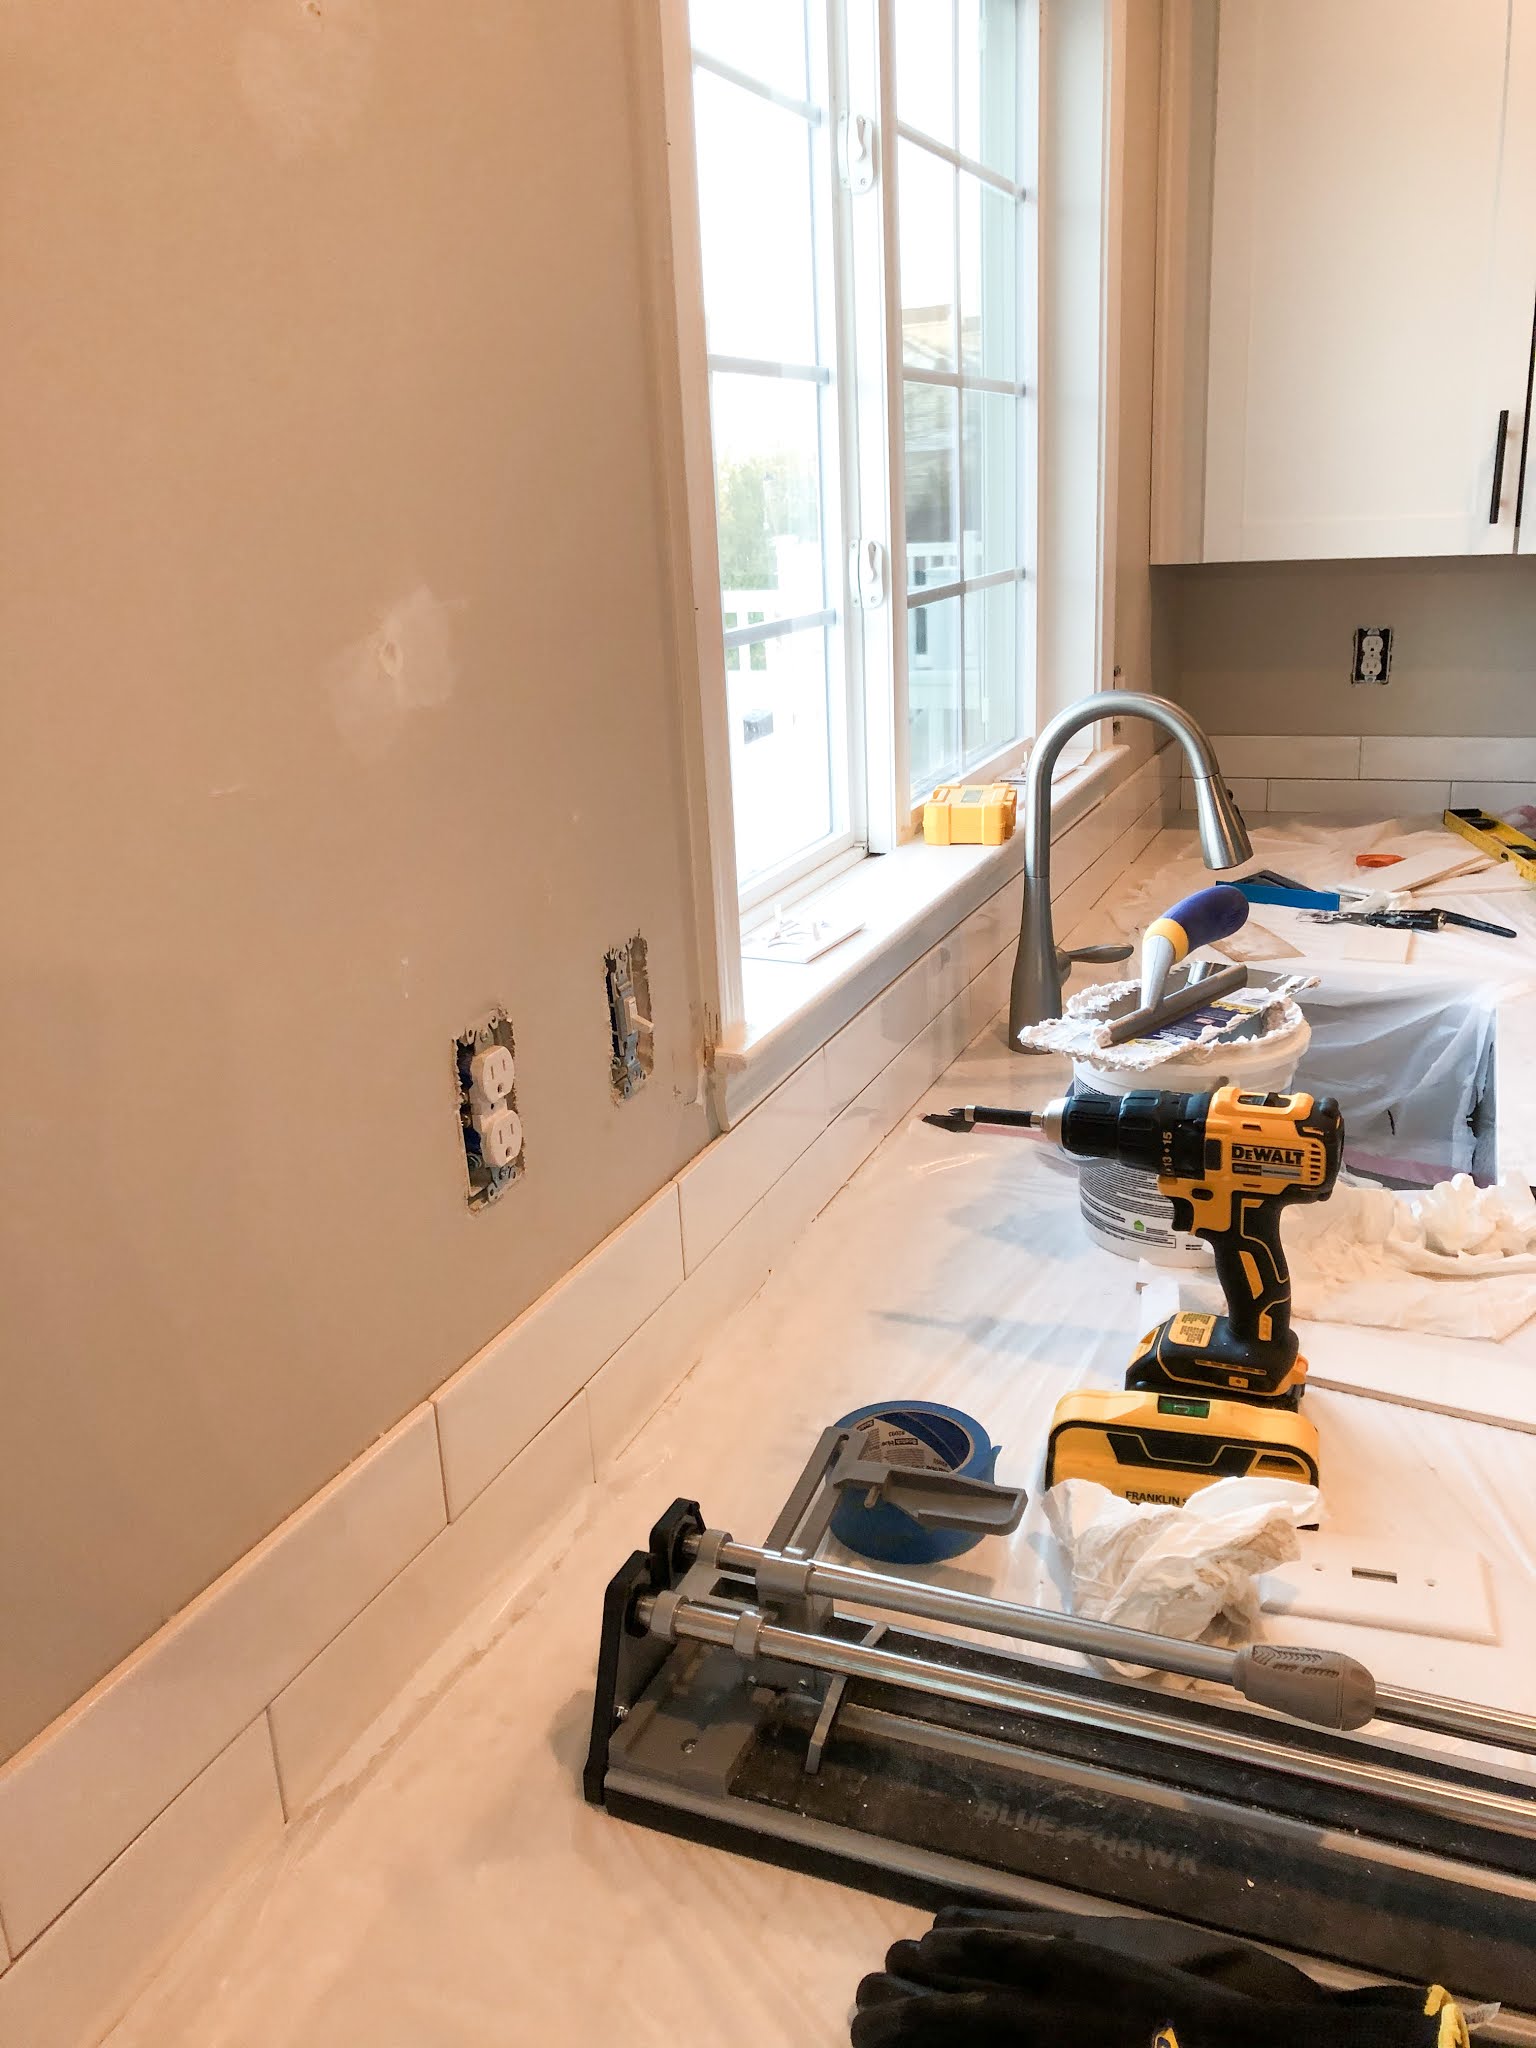
Our kitchen has turned into our dream kitchen, and I'm obsessed. I didn't want to go for the traditional kitchen backsplash, because #1: What's the fun in that? and #2: Nothing is traditional in this house. We've definitely done a ton of projects on our newly-built home, yet I feel like we'll always be changing or adding something. This time, it was time to tackle the kitchen, and gosh, did tile take our kitchen to the next level!
This project was my first tiling project ever, so it was a little more costly than most of our projects in the past because we had to purchase a lot of tools. The good thing is we have the tools necessary to do tiling projects throughout the rest of the house, and we've already completed another tiling project--our hall bathroom.
DIY Modern Farmhouse Bathroom with Tile Wall and Dark Grout
The Before //
At the end of this post, you'll find links to all of the products and tools we used to complete this project as well as any decor items I could link for you!
First things first, PREP YOUR SPACE. I cannot stress this enough. Prep your walls by filling in any holes with spackle, and then you will need to take 100-grit sandpaper to your entire wall area that you will be tiling. This helps to rough up the wall and allows the tile adhesive to stick a little better. We've heard mixed reviews on this step, but honestly, it's worth doing. It took all of five minutes and it gave me a little peace of mind knowing that even though it was an extra step, it would help our tiling project be that much more successful.
Once you've sanded the entire wall, you'll have a bit of a mess, so take old towels or paper towels and wipe your wall and counters down. Next, you'll want to tape plastic to your countertops. We cut open trash bags and taped them to the counter. This will protect your counters and make for a much easier clean-up. Tile adhesive and grout are very messy. Do not skip this step.
After your wall is prepped, you'll want to start on your second row of tiles--unless by some miracle your countertops are perfectly level, then you can skip this step. When you check your countertops and even your wall, nothing will be level. Our house is not even two years old yet, and it is so unlevel due to normal house settling within the first couple of years. Chances are, you'll have the same issue, so starting at the second row of tiles will be sure your tiles are straight and you can cut the first row of tiles to different widths to create the illusion of a full tile.
When you're putting up the second row aka your first row on the wall (confusing, I know), make sure you either use a laser level or an actual level when you're putting them up, otherwise your tiles will become crooked very quickly. Also, your second row should start 1 tile width or less from the countertop so that you can easily fill in that first row next. It's up to you if you want to start your initial tiling process from the corner, an edge, or the center. Since we wanted the tiles to be perfectly centered with the kitchen faucet, we chose to start there and work our way out to the sides. This is the most time-consuming part, but it's worth it to have a wall full of straight tiles.
I put up the second row of tiles along the entire span of our tile project, so both walls in our kitchen. When you're putting up a smaller section of tiles at a time, you'll want to put the adhesive on the tile directly instead of putting the adhesive onto the wall. Once you get past the first two or three rows of tiles, the project starts to move along very quickly!
Once you have the second row of tiles level along the entire span of your project, it's time to fill in that first row of tiles. You will have to trim the width of each tile--remember this is when you will be creating the illusion that there are full tiles on that first row, but chances are, as you move along the wall, there will be a 1/4 inch to 1/2 inch variance depending on how bad your home has settled and walls have shifted. When doing this step, you also want to make sure you are consistent with your tile pattern. We did a classic tile pattern, so you will see the edge of the first tile will hit the center of the second tile.
You also won't be able to use the tile cutter for this step, you will need to use a wet saw. A tile cutter is only able to take as small as 1 inch off, so chances of getting a perfectly straight line spanning the length of your tile is not likely. I got lucky a few times after A LOT of practice, but it creates too much tile waste if you mess up, so the wet saw was a Godsend. Thankfully, my parents were up helping with this project, so my Dad was able to teach me how to use the wet saw properly so I could use it in future projects, too!
Note: When using a wet saw, ALWAYS use eye and hand protection.
In the photo above, my Dad is measuring where to set the saw before we made a cut, which is why he doesn't have his goggles or gloves on yet, but as soon as the saw was turned on, we both always had on goggles and gloves. When a tile is cut on a wet saw, it shoots out tile shards, which are sharp and will cut you if you are not protected. Just ask my knee and about how it felt when I wore ripped jeans to complete this project and knelt down on tile shards. haha!
In order to hide your tile's edges where your entire tile project will end, you will need an edge piece. (See photo below) They are super inexpensive made of either plastic or metal and allow you to create a clean edge of tile for your project. Once we had the first two rows of tile up, we put in the last two pieces on each row to create the ending of the pattern. These tiles weren't exactly whole tiles and half tiles like the traditional pattern alludes to, mainly because we wanted our tile to end at a certain spot in line with our cabinets and not the countertop.
Once you're a little farther up the wall past your first couple of rows or so, you'll be able to take your tile adhesive and apply it to a good portion of your wall, and put tiles up super quick. It is definitely a tedious task, but well worth it for the stunning end results.
You will become a tile cutting master by the time you're finished with your project, but make sure to order 10% extra tile than you think you'll need to account for half tiles and for ones that break while cutting...because, yes, it happens.
Prep //
Tile & Grout //
Mapei Warm Gray Sanded Grout Caulk
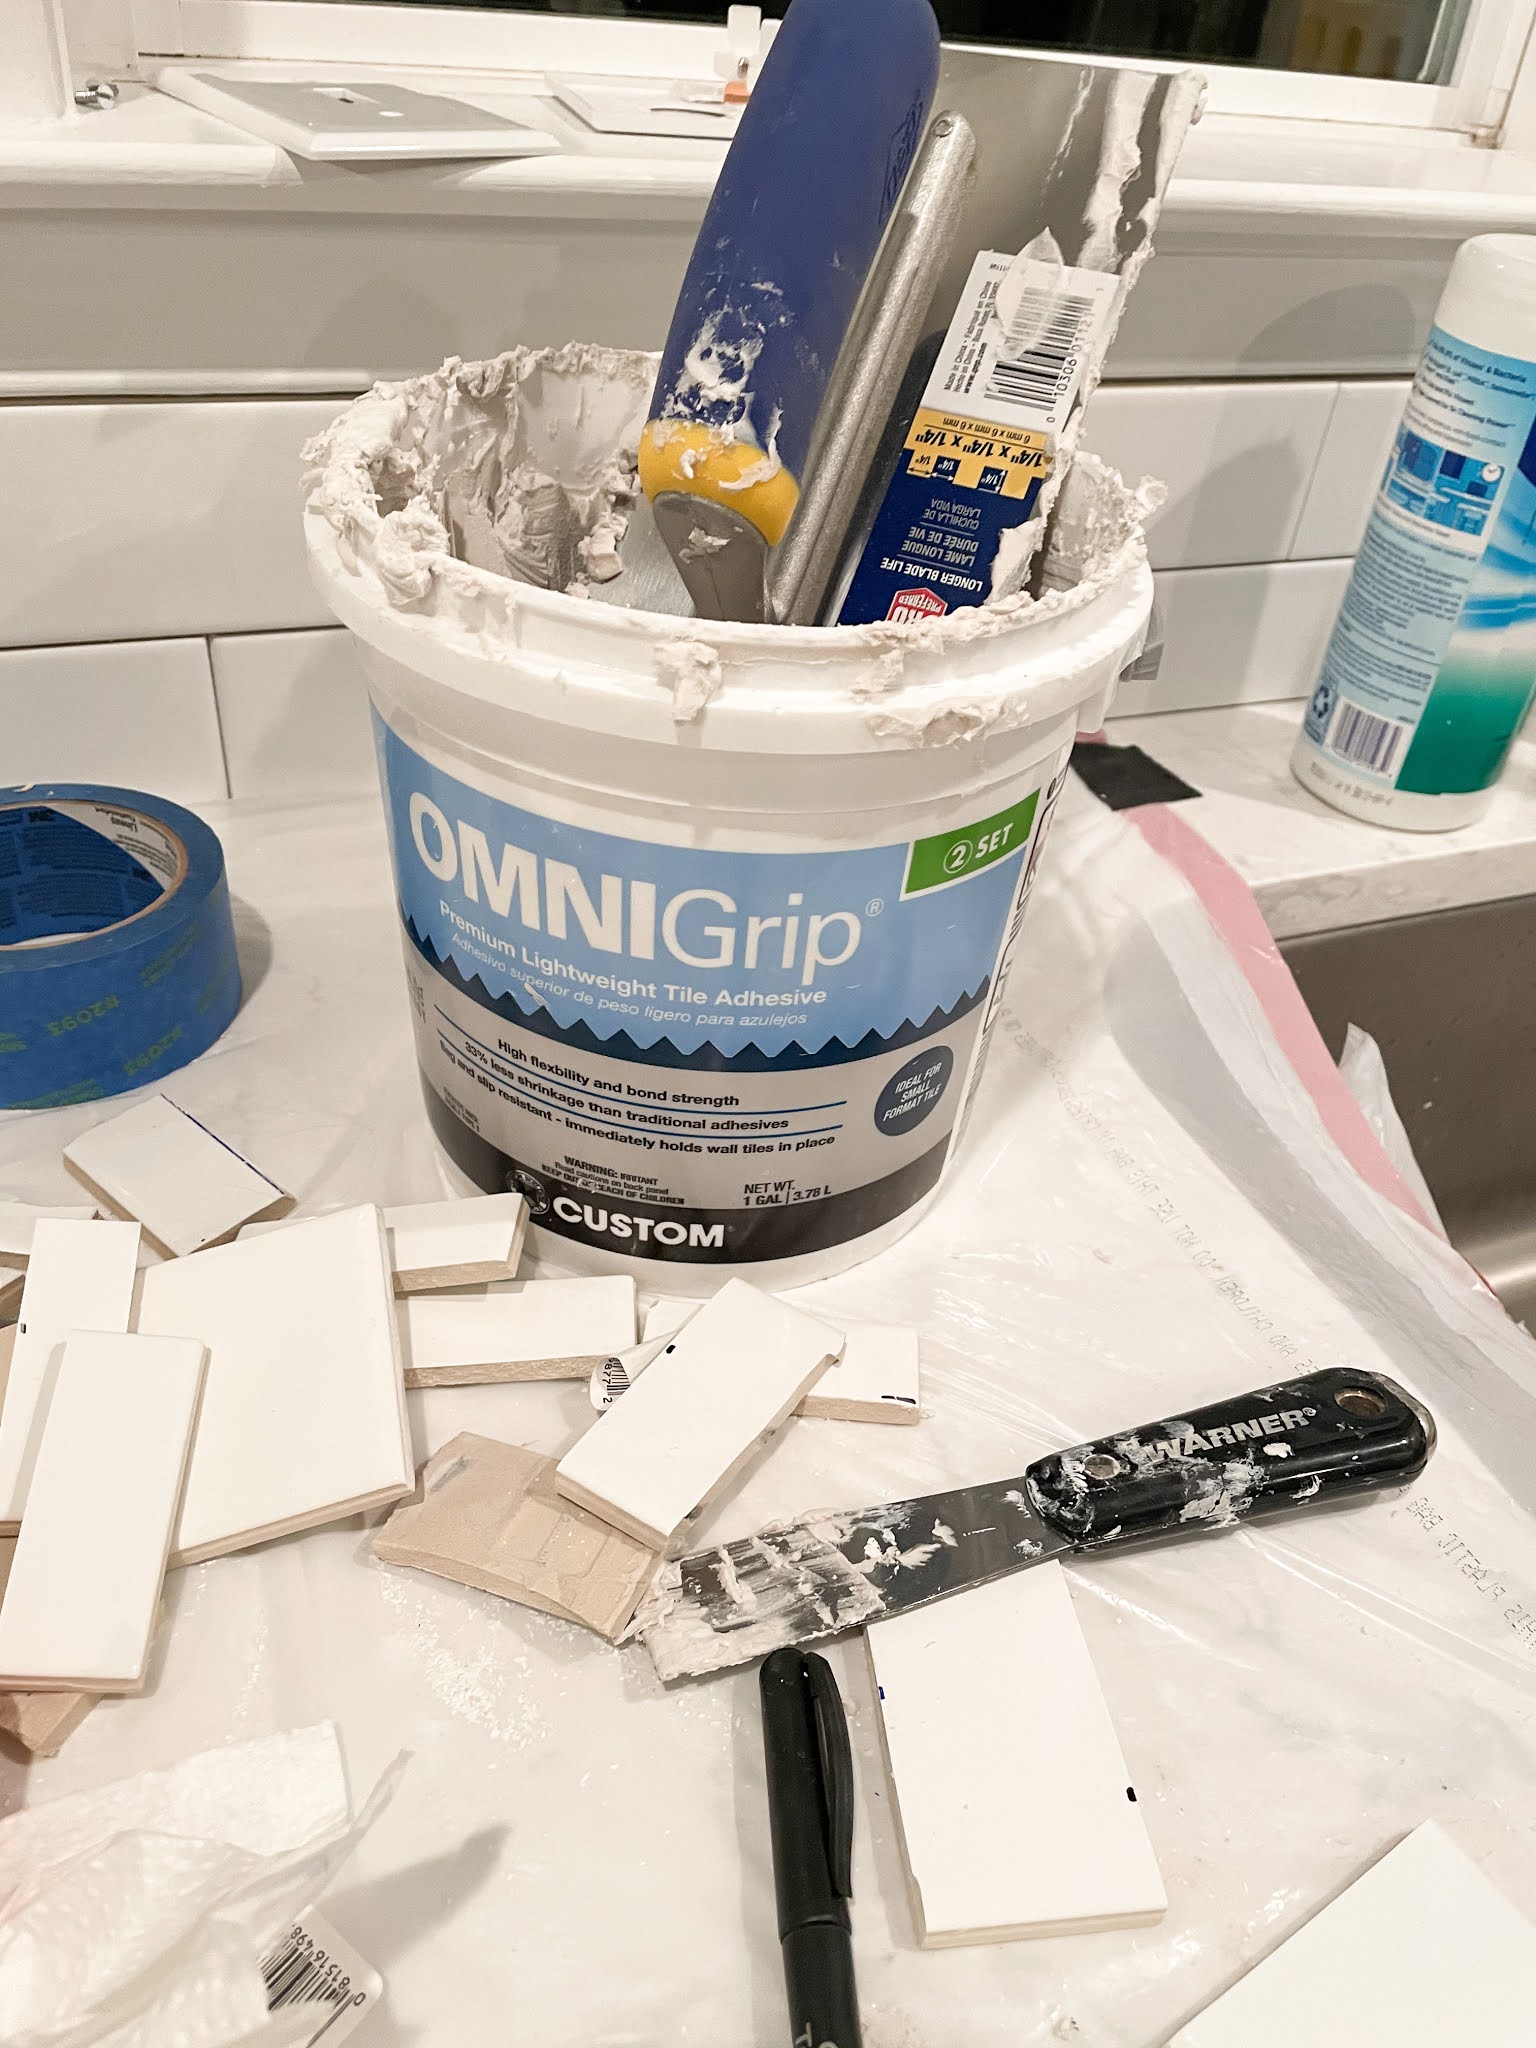
OmniGrip 1 Gal. Maximum Strength Tile Adhesive
Tools //
5-Gallon Spiral Mixer (for mixing grout)
Carbide-Tipped Drill Bit (for drilling through tile)
Hand Saw (for cutting tile edge trims to size)
Blue Hawk 4-Piece Caulk Tool Kit


No comments