
What a DIY! This is the first official reveal of our new upstairs hardwood flooring! It was a labor of love, actual blood, sweat, and tears. Installing hardwood flooring was one of the hardest DIYs we've done--the amount of math, angles, and intricate cuts we made were unreal. From perfecting cuts to fit under doorways, around angled closet walls, and air vents, I think I've cut just about every weird cut imaginable.
Our guest bedroom was the last room to be completed, but it's the first to be revealed! I'm still finalizing things in our room and Bentley's room and will reveal those rooms soon.
So, in case you missed what this room looked like before, take a look at this before & after. Can you spot the differences?!

I'll list them off for you because I'm just so happy with how this room turned out.
One // New hardwood flooring
Two // Crown molding
Three // Board and batten accent wall with wallpaper

Adding the crown molding and changing the board and batten wall to a half wall with wallpaper was the first project. There was just something that was always off to me with the board and batten wall from floor to ceiling. It made it impossible to put artwork above the bed, and when we finally put photos up, it still didn't feel right.
Chris is the master of crown molding, so he installed that for me, and then I caulked and painted it! The crown molding made such a huge difference. With a new house, there's always going to be settling and more settling, and the front of our house, especially in the upstairs bedrooms seemed to settle forward, which mean there was an annoying seam that no matter how many times we'd have fixed under warranty or me fixing it, it always created an eyesore. The crown molding covered that and was a permanent fix to an ugly cosmetic issue.
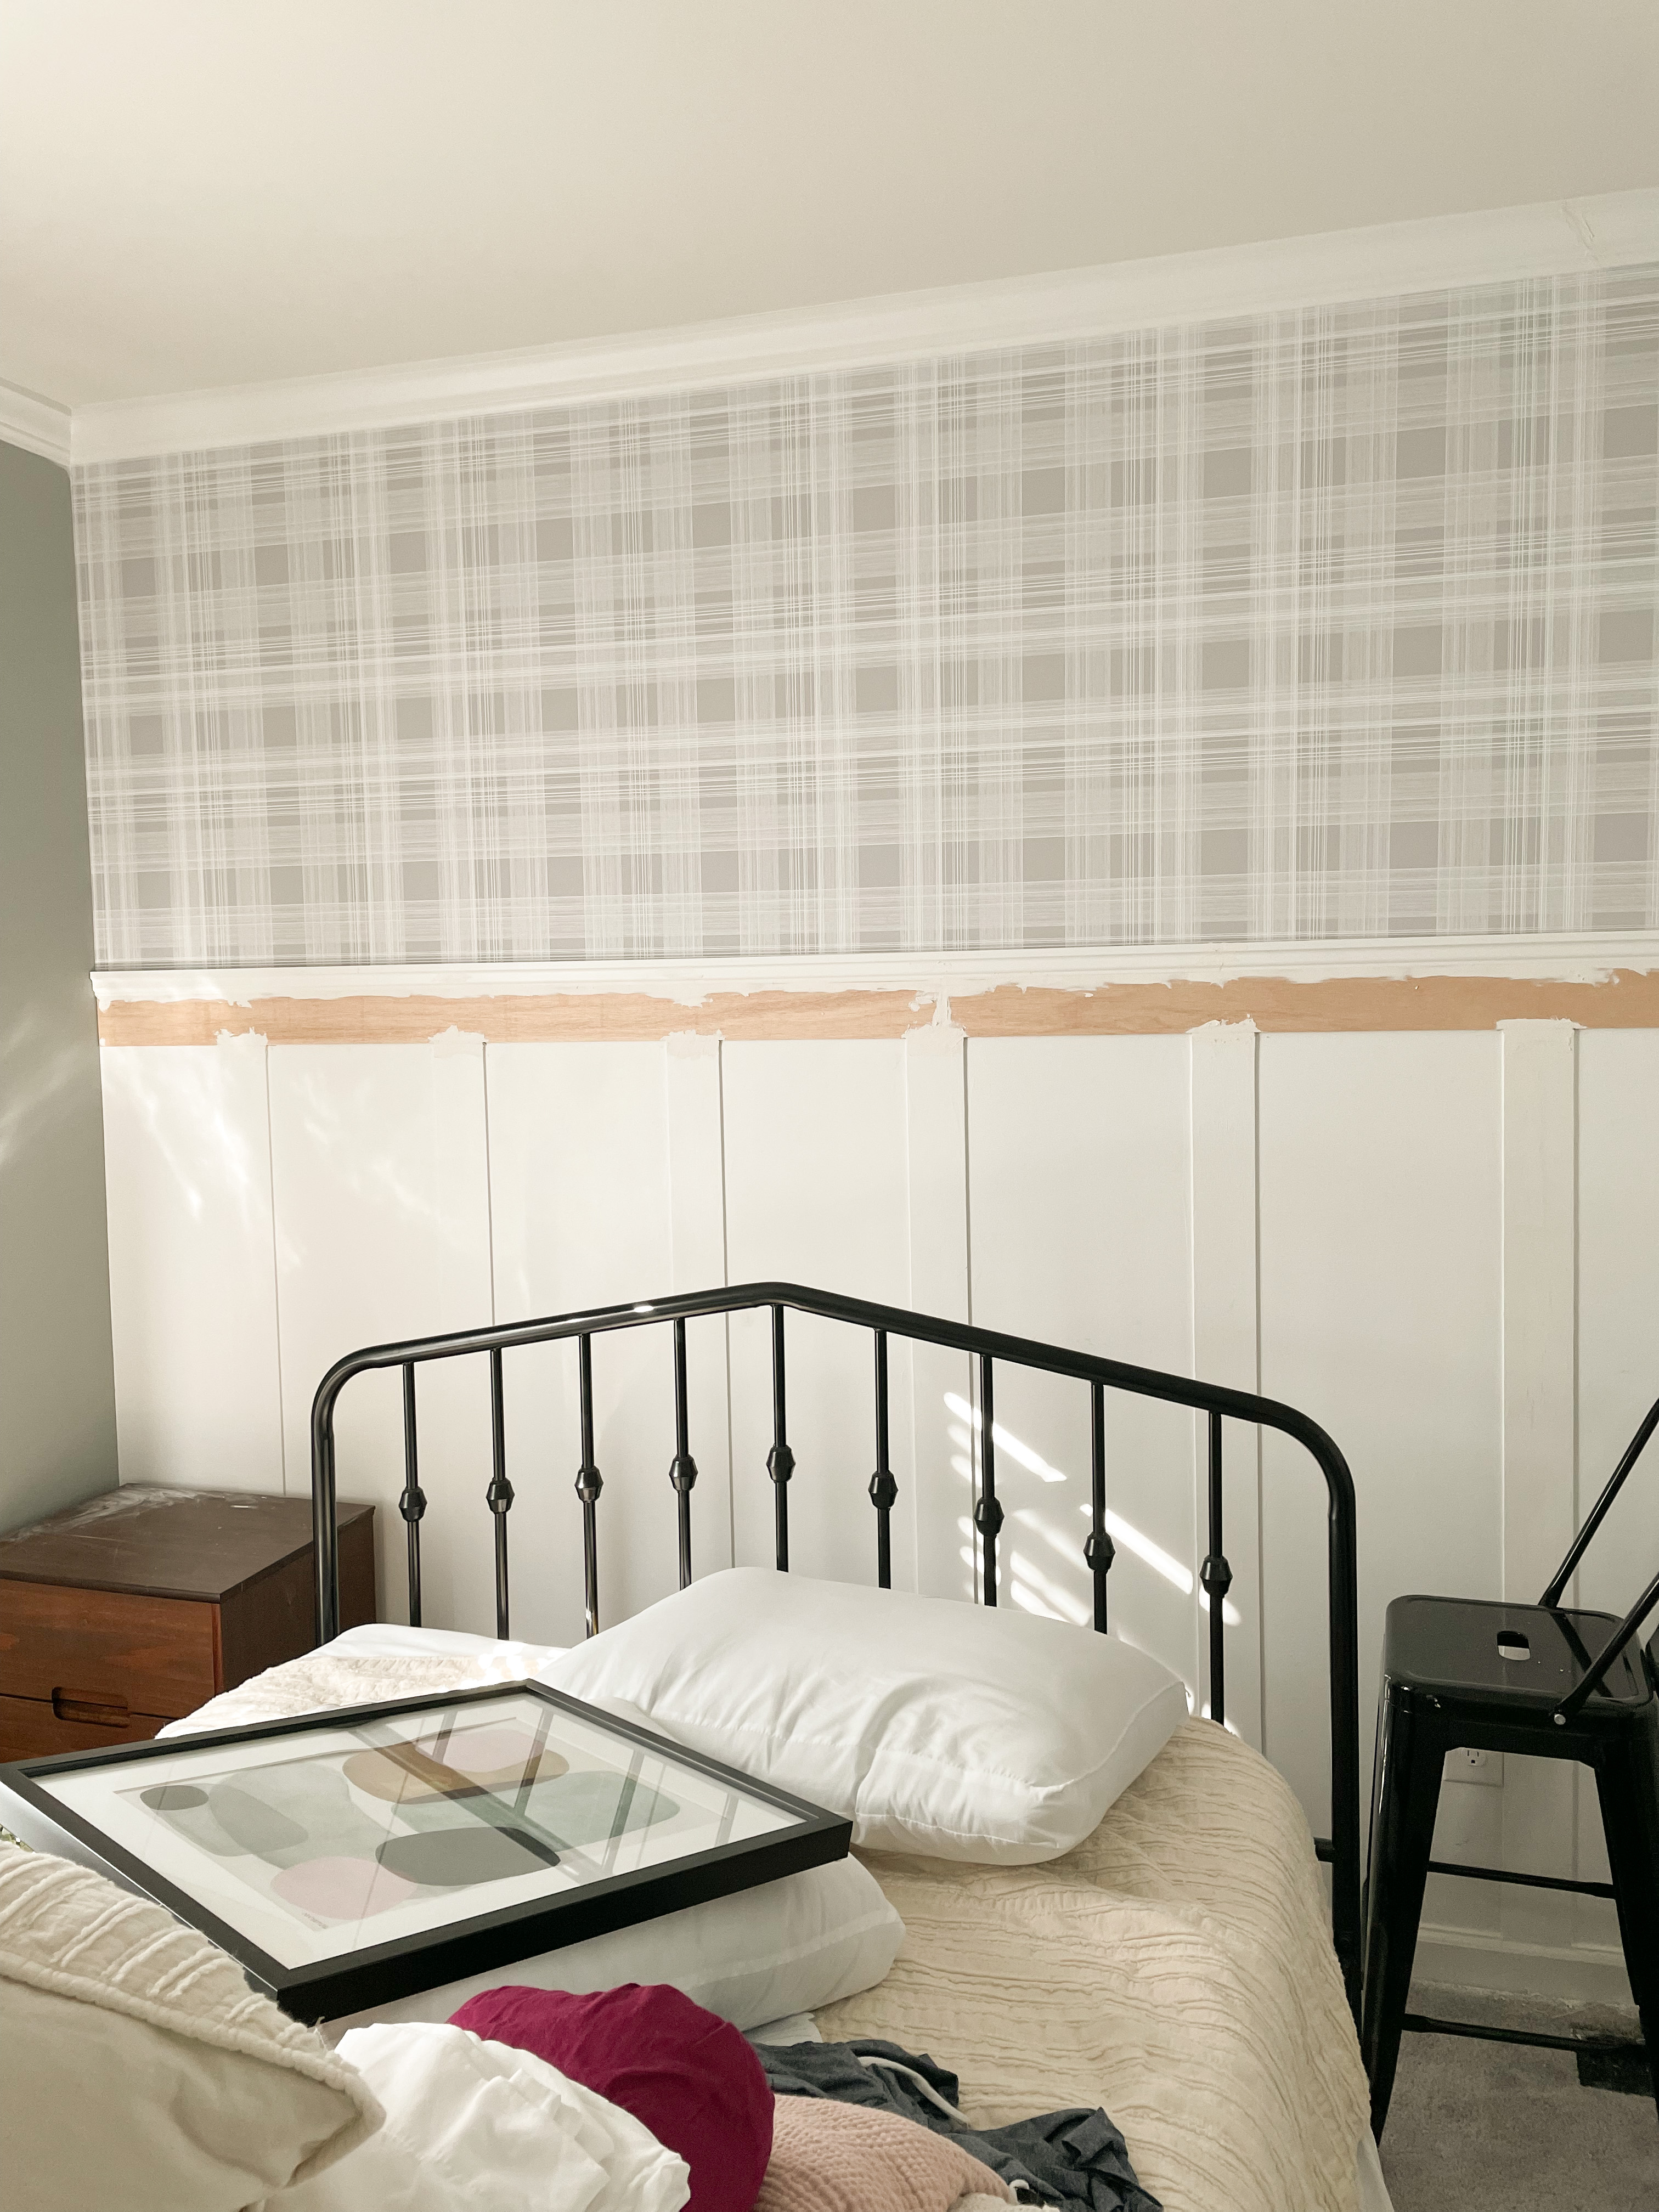
He also took the oscillating saw across the board and batten boards to cut them across without having to take them all off the wall. Taking the top portion of the boards off the wall left quite a mess, so I patched the wall to give myself a smoother surface to apply the wallpaper. I could have painted the wall, but there wasn't really a need to since I won't change the wallpaper anytime soon.
Wallpaper was a challenge--well, it would have been easier if I hadn't chosen the hardest pattern known to man. haha! I was able to install it in a couple of hours, but gosh, I was so happy when it was finished.
Once the wallpaper was installed, it was time to nail on the top board and the top trim piece to finish the board and batten. The key to getting the boards super smooth is sanding, a coat of compound to fill the wood grain, sanding again, and then a really good wipe-down before painting. I painted two coats on the boards after the sanding process and then caulked the bottom edge and sides of the new top board.

The last and biggest DIY to finish up our guest bedroom was ripping out the carpet and replacing it with hardwood flooring! Ripping out the carpet is probably the most satisfying, most disgusting thing I've ever done. You think your house is clean until you see what's under the carpet and underlayment...and our house is only three years old. Never again will I purposely put carpet in my home or future home.
Thankfully, the subfloors were level and I could install the underlayment and the flooring. Since I was installing overtop a subfloor and underlayment, I could have done a fully floating floor, but I chose to nail in the side wall boards with a nail gun instead of using spacers to make sure my boards stayed straight and together.
This room was one of the easiest rooms to install flooring in, so once I was able to have an evening to dedicate to it, I got it done pretty quickly--in about three hours. Once I finished laying all the flooring, I did a final tap in all the boards to make sure all the seams were nice and tight together, and then I used the nail gun to nail in the edge of the boards. The best part about these nails is that the quarter round completely covers them, so you can't see them at all!

Chris is also the quarter-round expert, so he installed that for me, and then I went back after him and filled in the nail holes with spackle, caulked the seam, and painted it. Once the paint was dry, we started to move the furniture back in! This was an exciting moment because, for about two weeks, all of our bedrooms had furniture from every room in them as we finished each room. It felt so good to start to put everything back together again. You can only live in a chaotic construction zone for so long with a very active toddler.

I shopped my home for decor to redecorate the space, and I love the way it turned out! Eventually, when I get brave, I'll hang something in the center of the wallpaper, but until it becomes Bentley's big boy room, I'll keep it just the wallpaper.

What do you think about this before and after?! Pretty good, right?!
If you have any questions on this series of DIY projects, leave a comment or send me a DM on Instagram.
If you're looking for tips and advice for hosting your guests in your home and creating a gorgeous space for them, check out this article where I was featured on Porch!
I'll link below everything I can for this space from DIY
essentials to decor!
Shop My Post!
Wallpaper
Wallpaper Installation Kit
Crown Molding
Hardwood Flooring--Coffee Bean
Underlayment
Bedframe
Area Rug
Dresser
Nightstand
Throw Blanket
Semi-Flush Mount Light
Black Door Knobs
Black Closet Knobs
Black Hinges

Shop My Post!
Wallpaper
Wallpaper Installation Kit
Crown Molding
Hardwood Flooring--Coffee Bean
Underlayment
Bedframe
Area Rug
Dresser
Nightstand
Throw Blanket
Semi-Flush Mount Light
Black Door Knobs
Black Closet Knobs
Black Hinges

No comments