What's it called when you always have to be doing something?! Crazy? Psychotic? Whelp, hey, that's me, because I am never not doing something, and I like it that way. In fact, yard work has become my mini at-home therapy session, but there was one thing that kept stressing me out...

Did you see how the mulch and the rocks are supposed to be separated, but always end up mixed up together because there's not a high enough border?! That, that, was my biggest stressor as I was doing yard work. I was tired of picking out mulch from the rocks for literal hours every single week, so I came up with a simple and inexpensive solution.

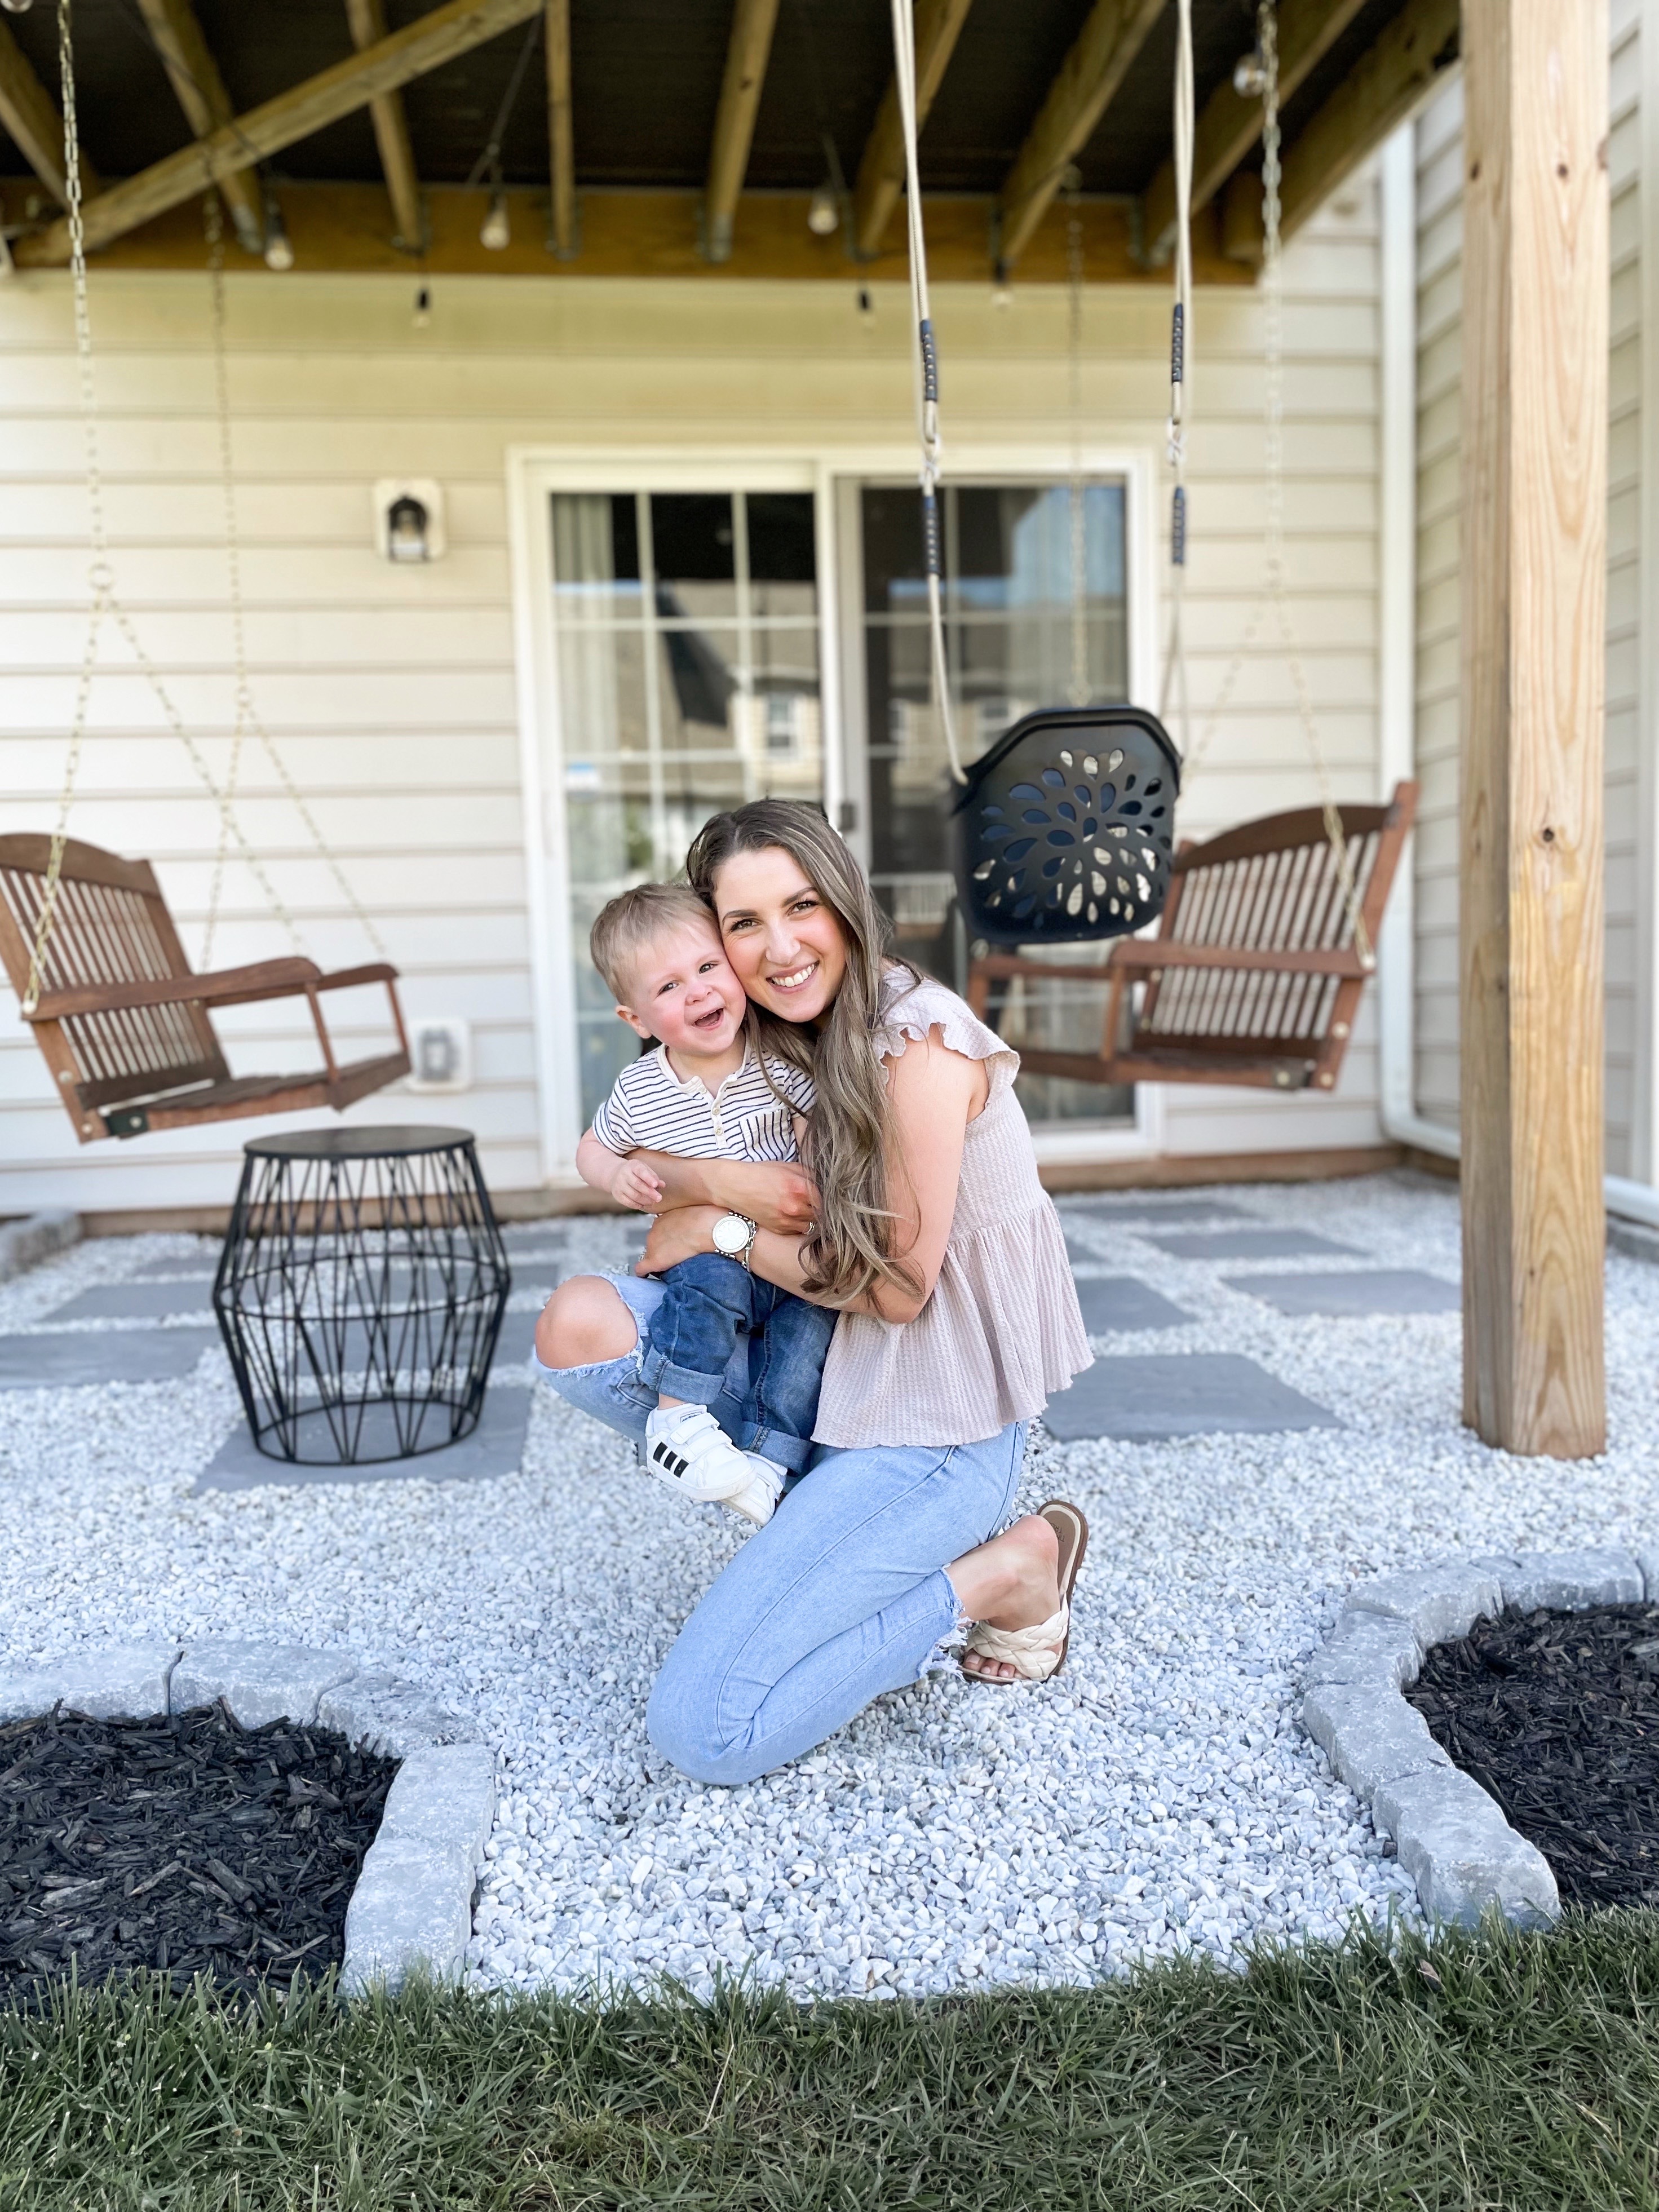
In case you wanted to see a patio before overview, there it was! Still super cute, but let's make it even better!
Related Reading // DIY PAVER AND MARBLE GRAVEL PATIO WITH MULCH BEDS & PORCH SWINGS

55 edging pavers and five bags of mini marble chips are all it took for this project. It came out to be about $115 total for the patio update, which is nothing knowing that it will save me hours upon hours in cleanup and maintenance.

I took my garden shovel and scooped the marble chips back and out of the way in order to get down to the sand layer. I wanted my edging pavers to have solid ground to be on vs just putting them on top of the rocks and ultimately being unstable and wobbly.

I also took out the original black edging piece that I put in when I first built the patio. Since it was no longer serving its purpose, and it honestly never really did, I decided to take it out and I was still able to get a clean line and separate the marble chips and the mulch.

Honestly, the hardest part of the entire project was figuring out the curves. Since I was taking the pavers from a straight line to the curved mulch bed and to the pathway, I had to be strategic in creating the lines and also considering where it needed to start curing in order to make the pathway centered with the patio.

I was able to make it even with the same amount of pavers going out towards the yard and garden beds, and then the pavers curved on the same paver count. You can see in the photo below that I cut the paver patio portion about an inch shorter, but that's because of the way the mulch bed & patio initially lined up, so I just handpicked those rocks out of the mulch bed and used the new edging paver as the new true guideline.

Within the pathway, I had to shovel out all of the mulch that was originally there under the large paver stepping stone. It was actually perfect though because I was able to use that mulch in the garden bed around the new edging pavers to give a fresh, crisp line again.

Once all of the mulch was shoveled out of where the pathway was going to go, it was time to grab the mini marble chips! To add the pathway was about three bags of marble chips to truly fill it up and get it to the same level as the rest of the patio. I then took another bag and scooped out a shovel full at a time and went around the edges of the patio to clean up the edge line of the edging pavers. I still have one bag of marble chips left, but I'm going to hold on to it and refill the patio rocks a little later in the season once everything settles into place.

I love how it turned out, and from start to finish, it only took me about three hours to complete this project. I feel like it elevates our patio even more and it was a simple DIY that is both beautiful and functional. I cannot tell you how excited I am to not have to pick out mulch from the marble chips every two seconds. Now all I need is for Bentley to stop scooping the rocks out and throwing them into the mulch...haha!
What do you think of the patio update?!

No comments